How to Dye Acrylic Plastic
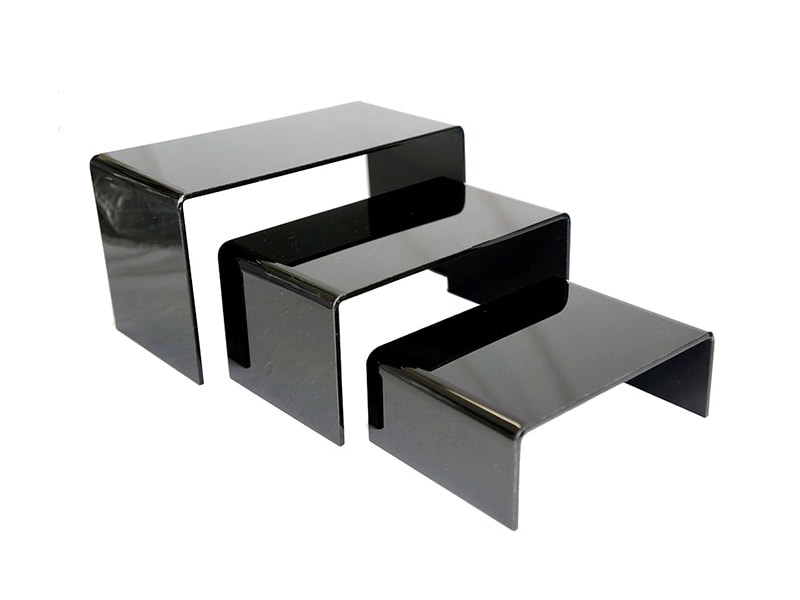
Dyeing acrylic plastics- both extruded or cast contributes a unique beauty to jewelry, sculpture, art, or decor. Dyeing acrylic plastic is unbelievably easy.
We have mentioned the easiest guide to dye your plexiglass sheets below. This will make your experience easier and make your plastic fit for the purpose. However, don’t rush to conclusions. If you want a fine piece, you must understand the matter in detail.
So without further delay, let’s jump right into it!
Why Dye Acrylic Plastic?
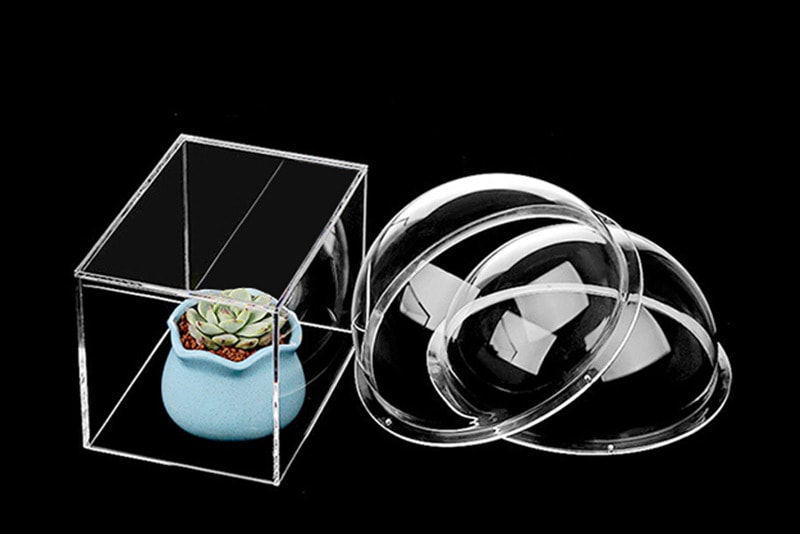
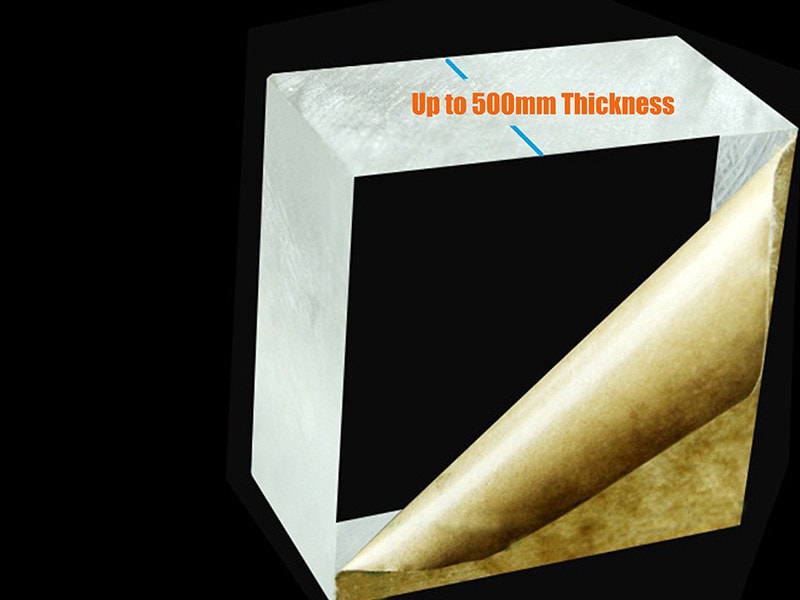
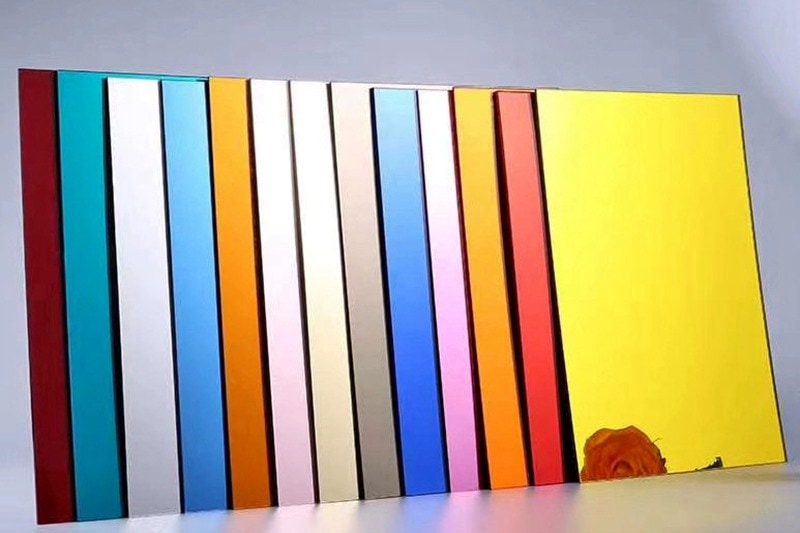
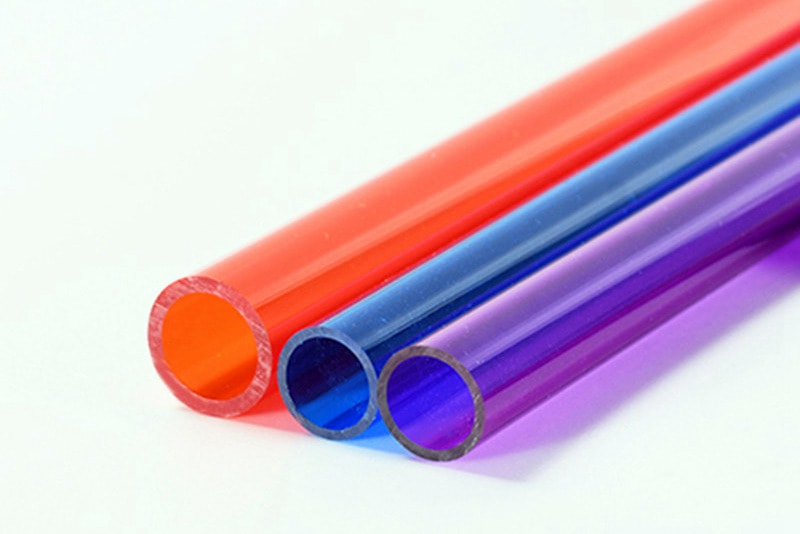
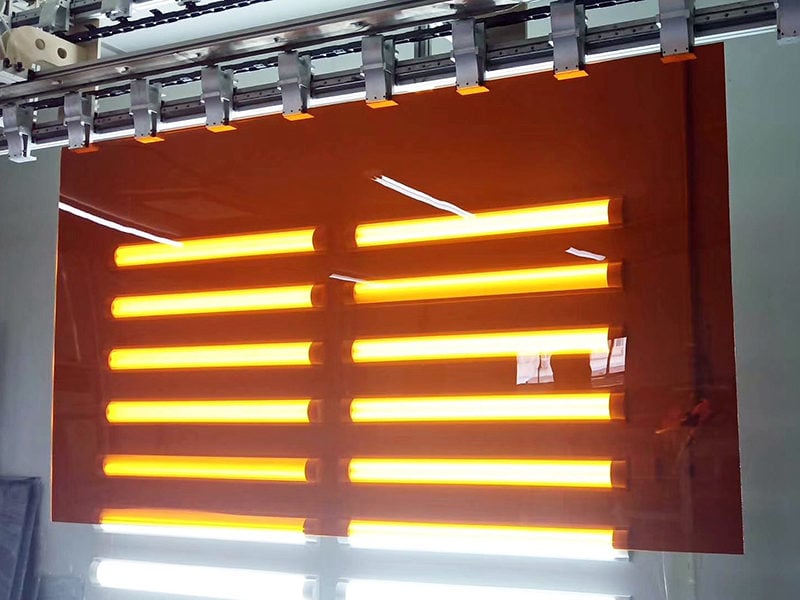
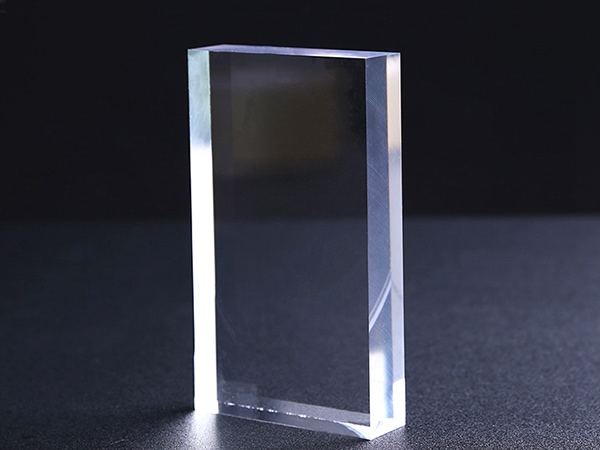
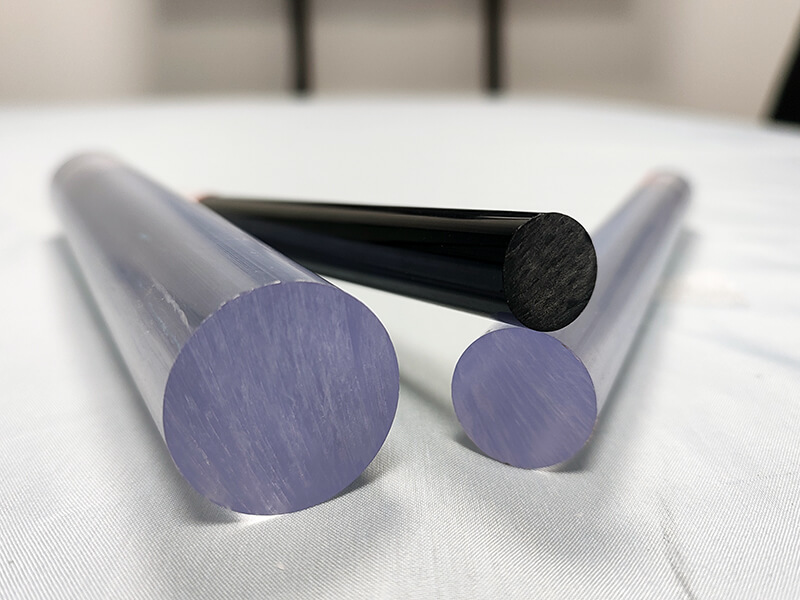
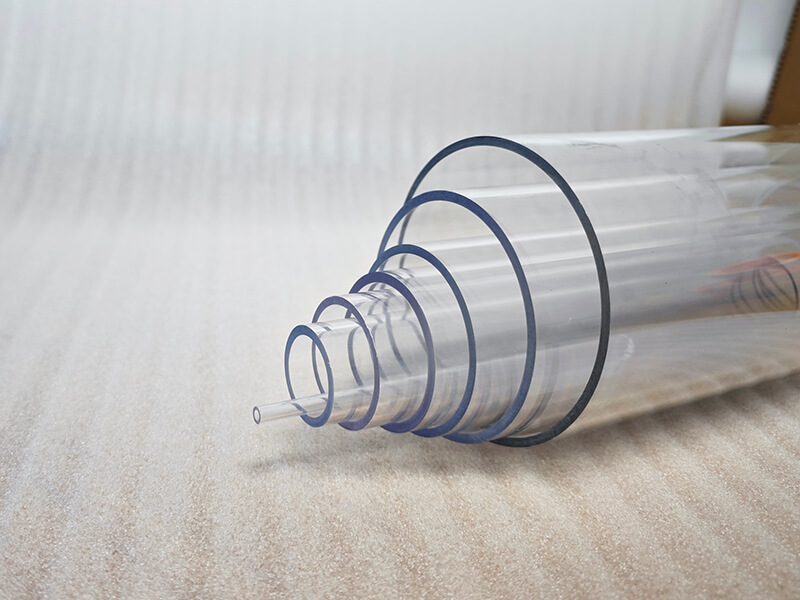
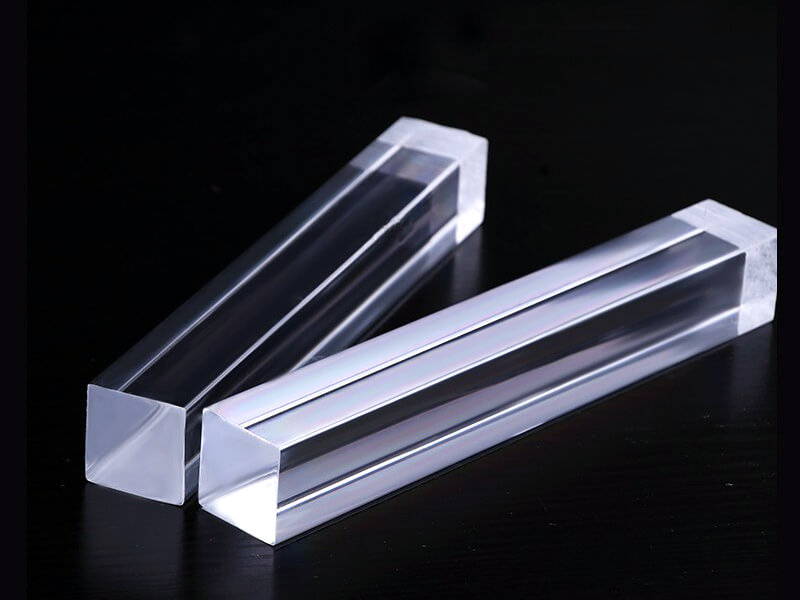
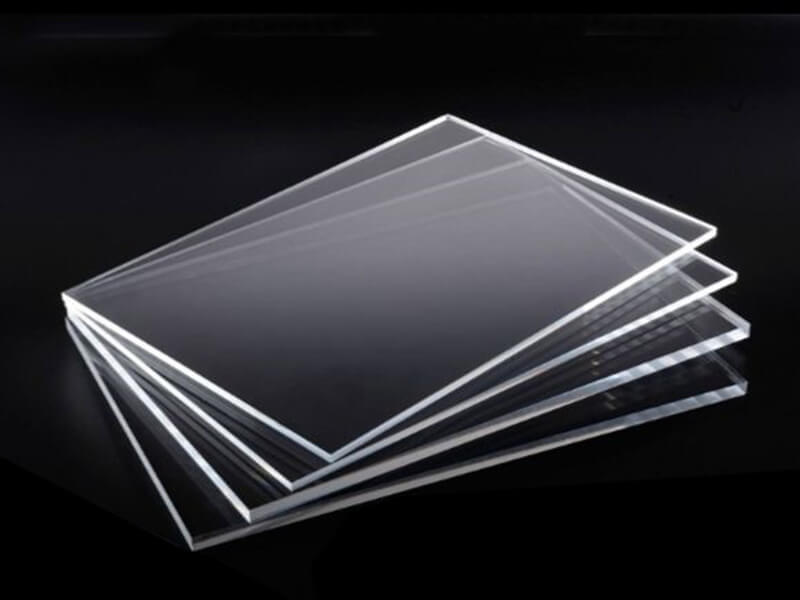
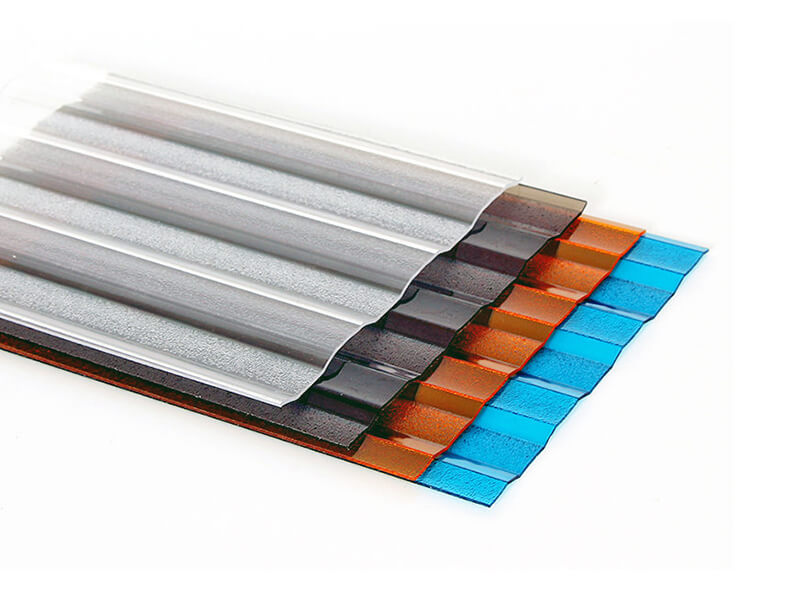
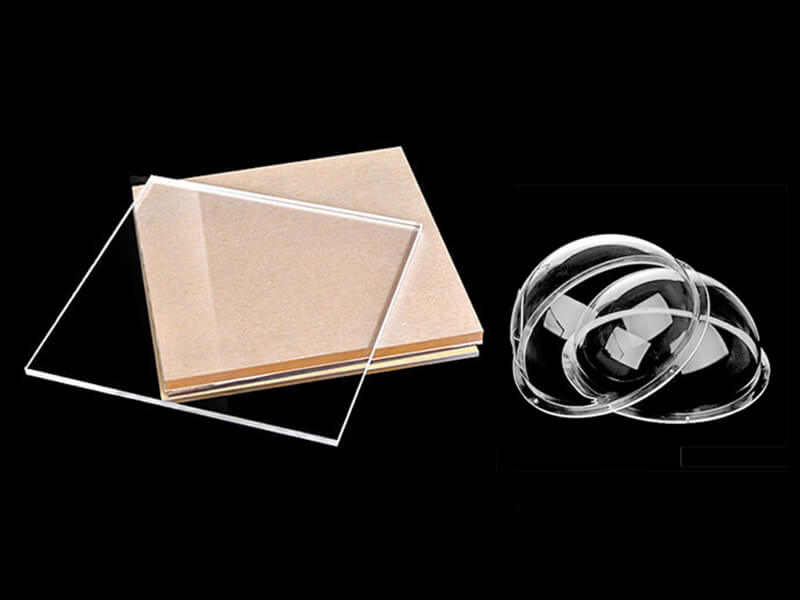
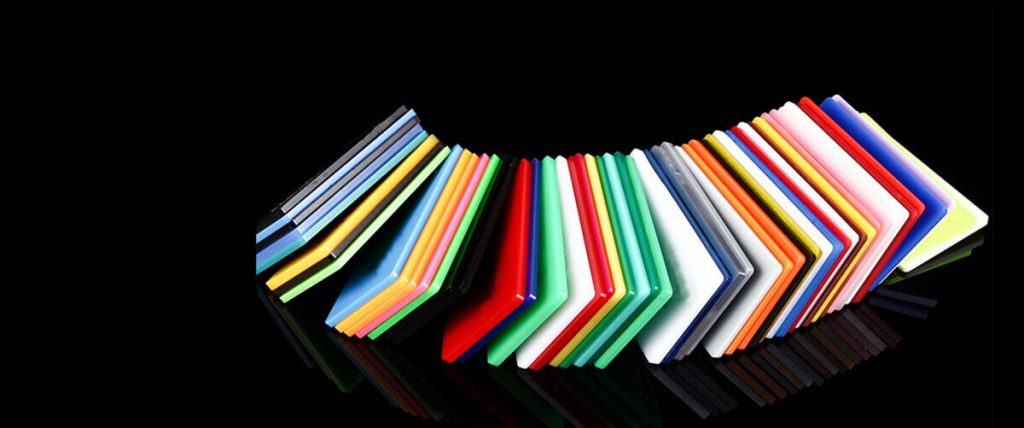
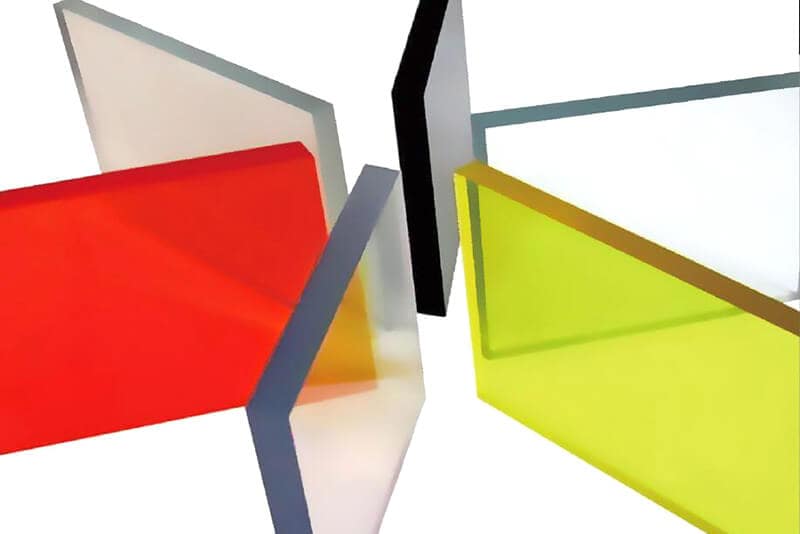
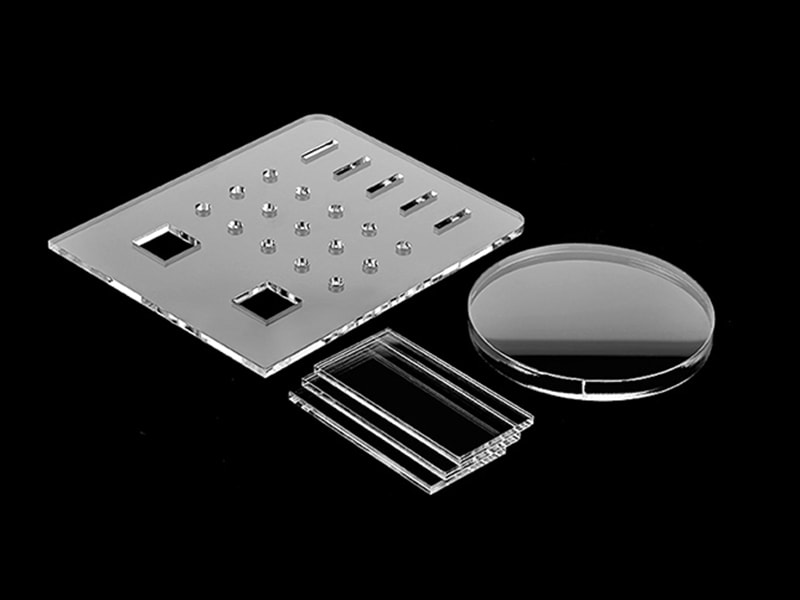
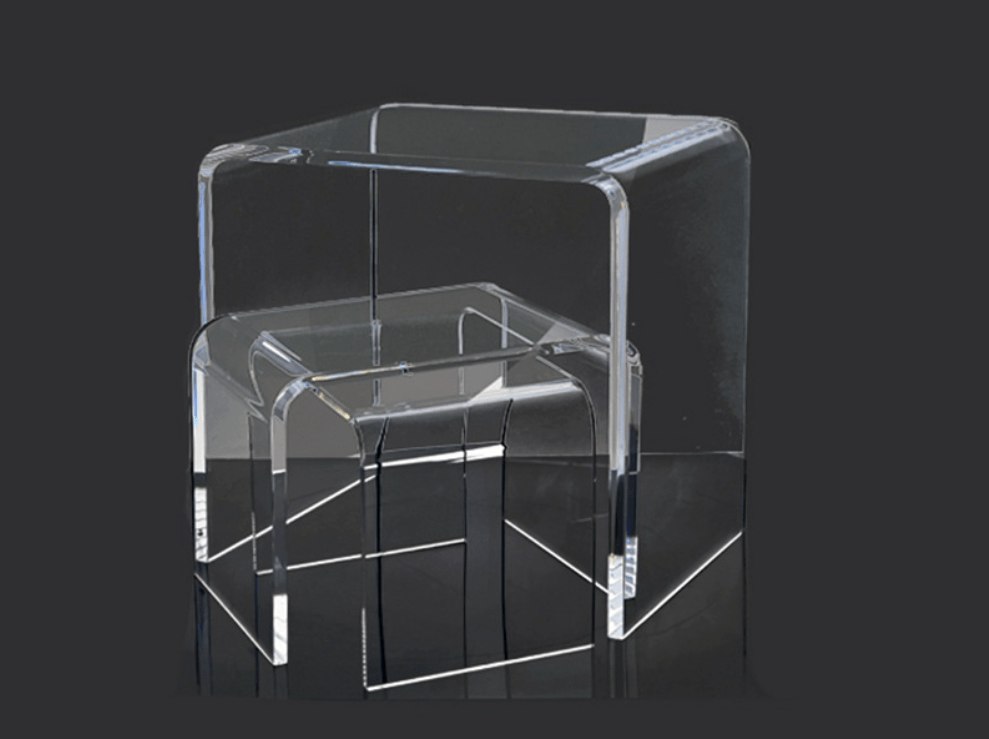
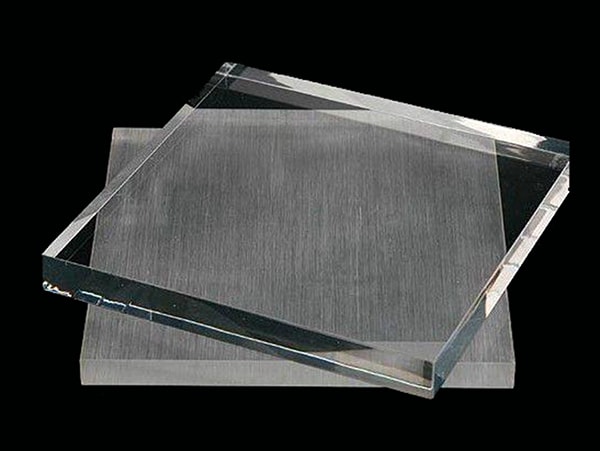
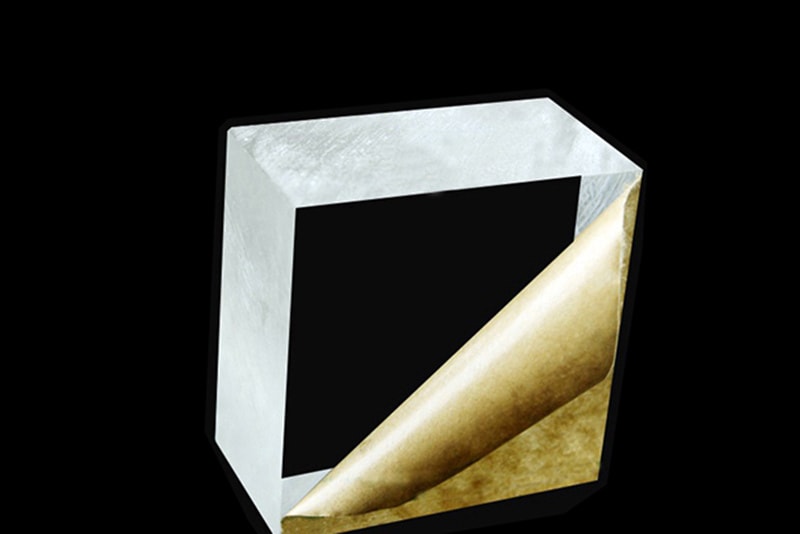
At this point, you have already come to know that you can obtain your acrylic plastic in many sizes, thicknesses, and textures according to your requirements. Here, maybe, you want to know how to cut acrylic sheets. Also, acrylic sheets may be transparent, translucent, mirror, colored, or opaque.
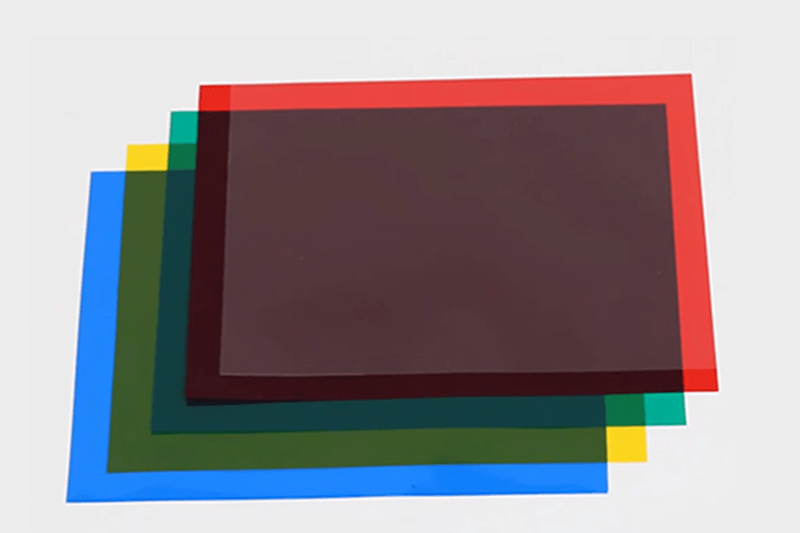
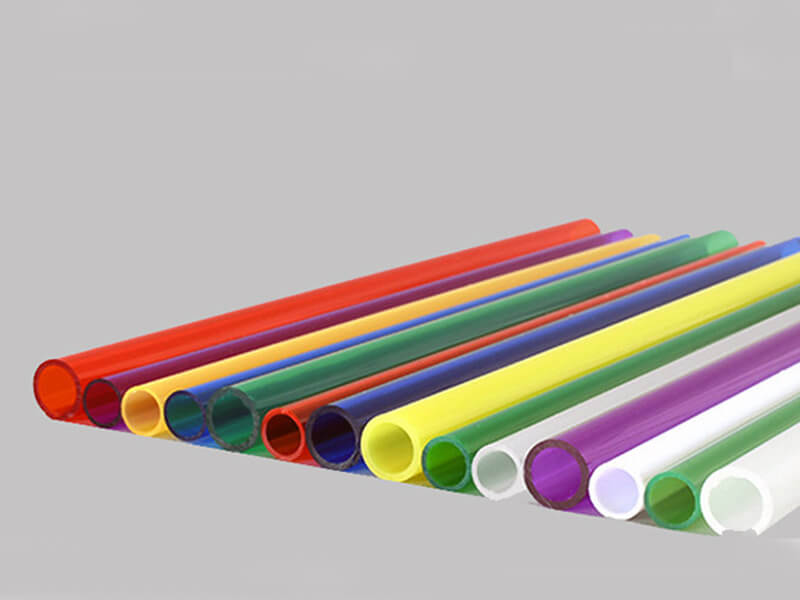
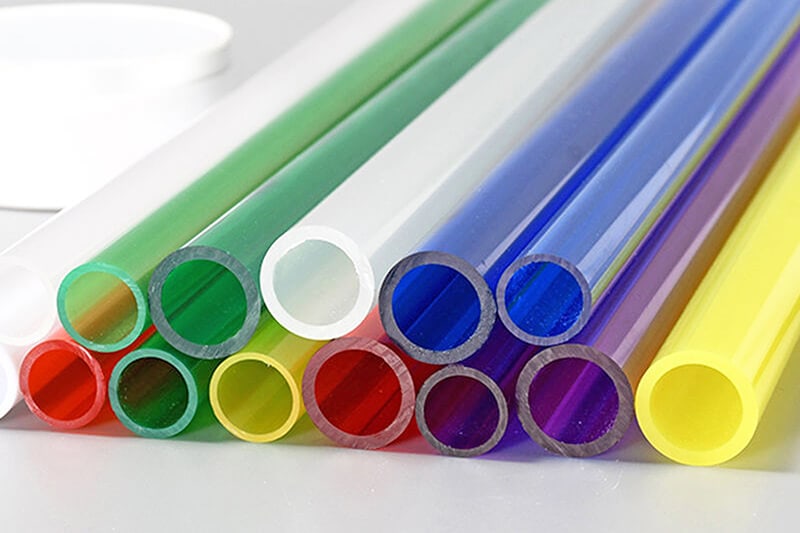
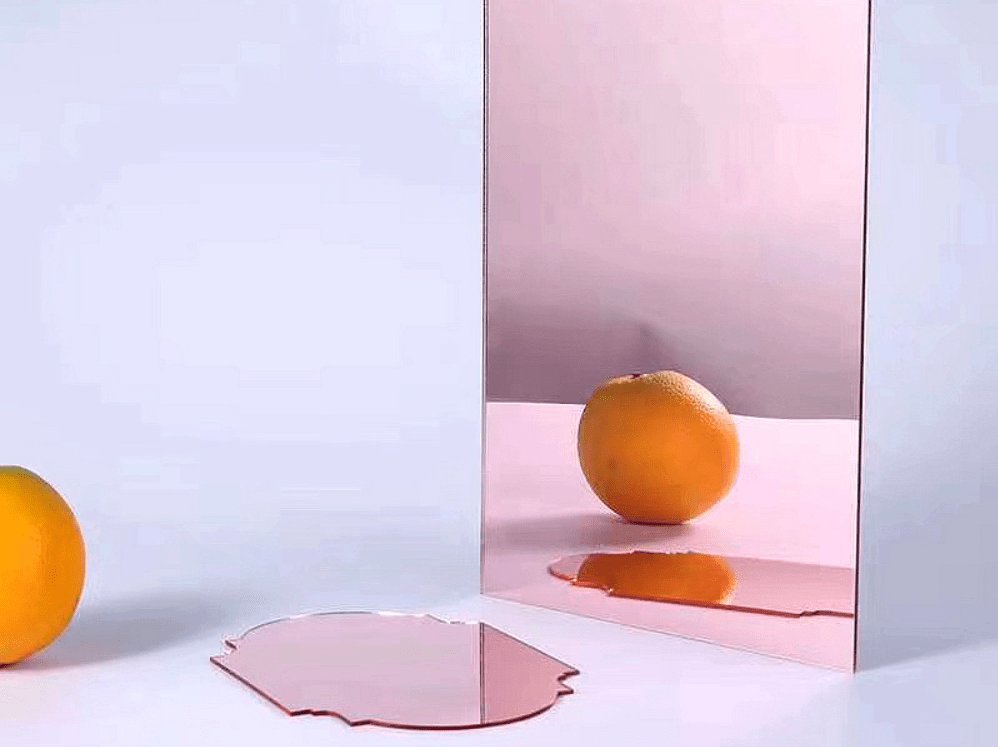
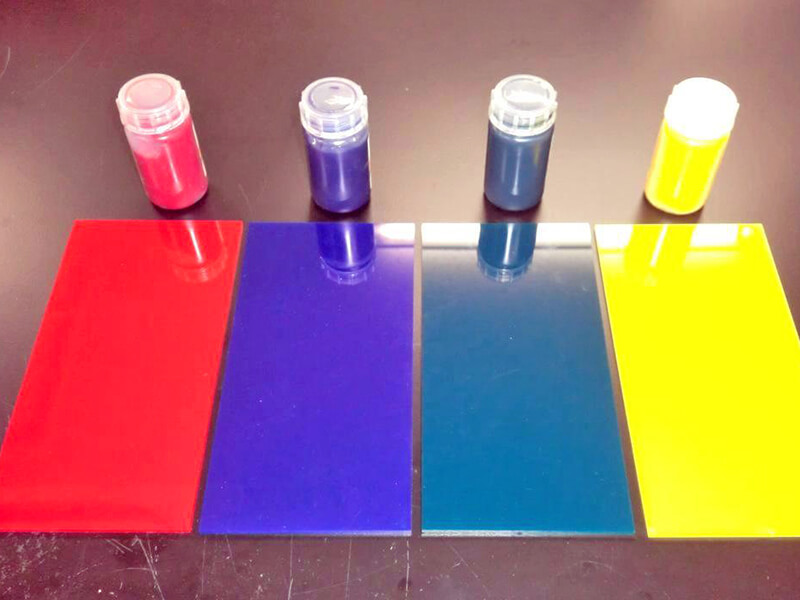
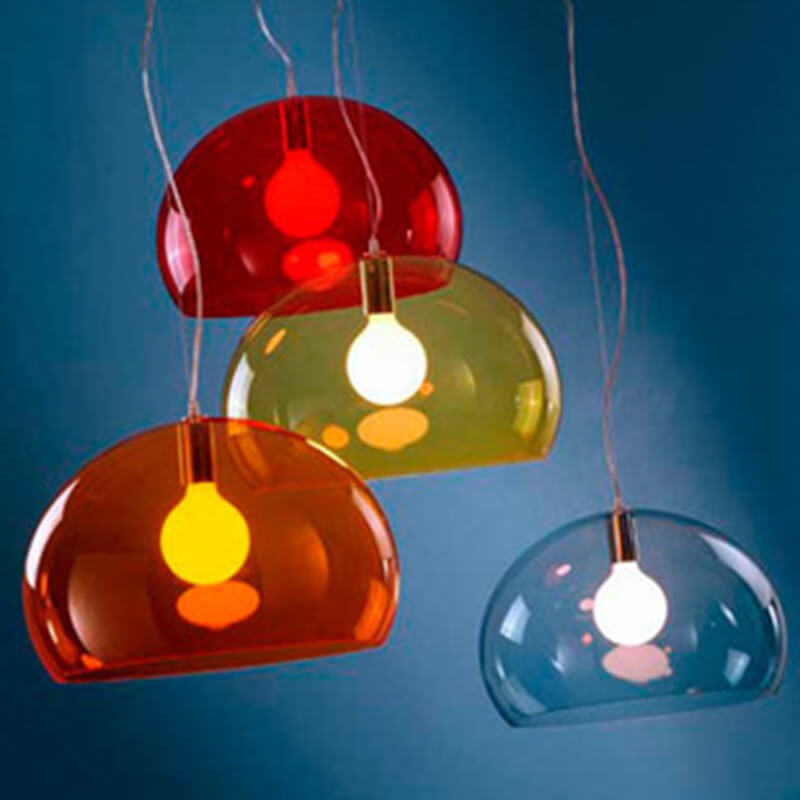
So why would anyone like to dye clear acrylic plastic? Dyeing acrylic plastic has its own reasons. The dye can be mixed in any proportion to produce an almost infinite array of colors.
One more advantage is that you can control the dye concentration. By controlling the dye concentration, heat input, and immersion time you can dial in the necessary intensity of color to a point.
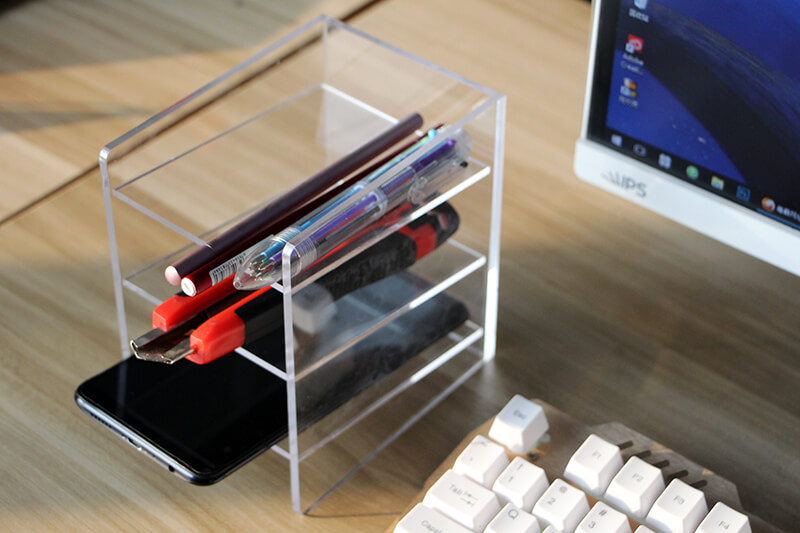
Clear acrylic is cheaper than colored acrylics. If you are low on budget you can get a clear acrylic and dye it to make it fit for purpose. Trust me, it is easier to dye acrylic than it sounds. This is possible to partially immerse objects to create interesting and decorative coloring.
See, if you need a small quantity of custom colored acrylic sheets, and it will be a big waste if you manufacture some colored acrylic sheets, therefore, you need to dye acrylic.
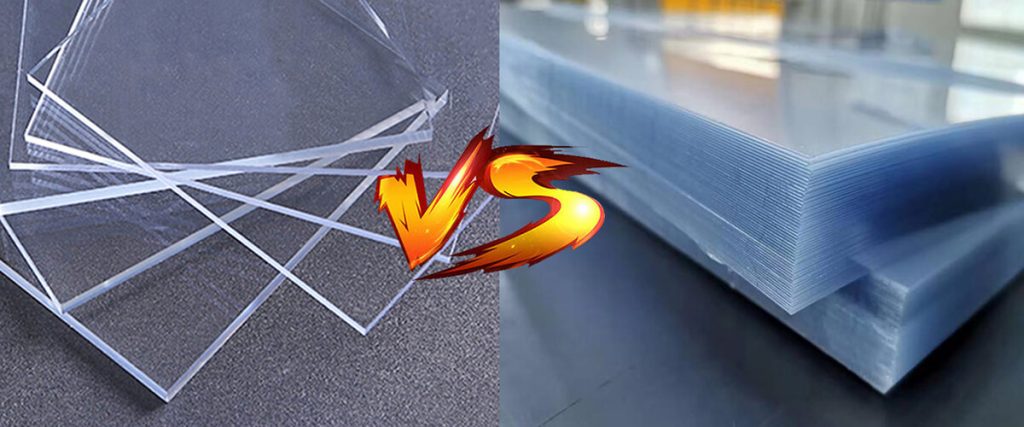
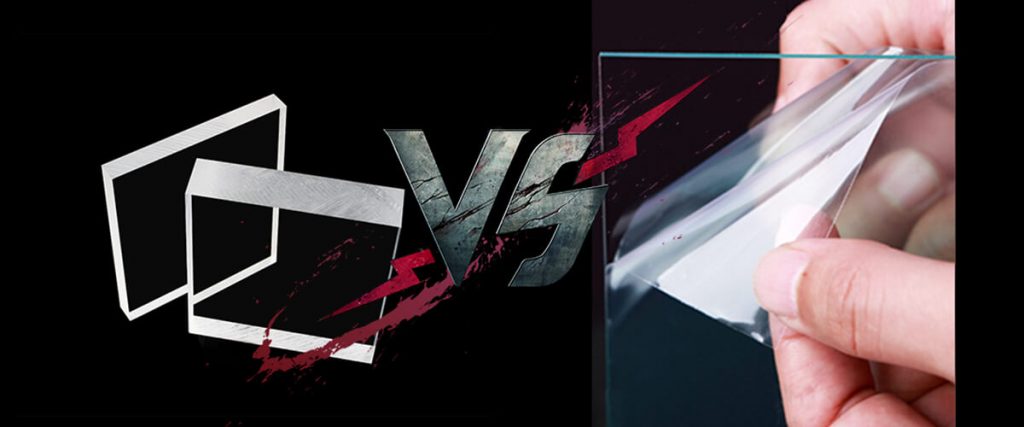
Maybe you will ask, what is the difference between colored acrylic and dyed acrylic? The answer is that colored acrylic offers 100% color from inside to the surface, but dyed acrylic offers colored surface only. Therefore, dyed acrylic is a one-off product, it is used normally for acrylic prototypes, such as car lights.
Sounds easy? Good. But before that, we need to know what tools or materials do we require for this task.
Things You’ll Need


Dying Acrylic Plastic: Step by Step
Now that you are familiar with the tools required for dyeing your acrylic, you are ready for the process.
Step 1
Select a spacious pot big enough for your piece. The pot should be large enough to submerge the plexiglass piece.
Step 2
Pour hot water into the pot and set it on the stove and turn on the burner. Make sure you put on rubber gloves.
Step 3
Pour the packet of dye into the pot. Stir the solution with a large plastic spoon until it is dissolved.
Step 4
Wait for the dye to steam and form small bubbles on the surface. Now with the tongs, lower the plexiglass into the paint.
Step 5
Leave the piece in the dye for 10 minutes. If you want better results, you can dye for longer. After that, check the plexiglass by lifting them with tongs.
Step 6
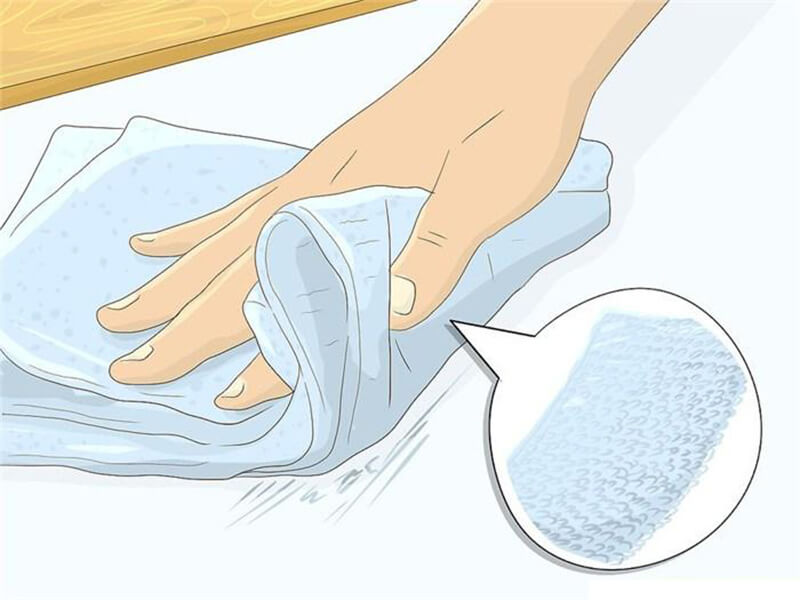
While the pieces are drying, prepare a bowl of warm soapy water. Next, add dish soap to a large bowl able to submerge the piece.
Step 7
After turning off the stove, place the pieces in the bowl of warm soapy water.
Step 8
Now, lift the pieces with tongs and keep them under cool water for some time.
Step 9
Now lay the dyed pieces on a paper towel to dry.
Safety and Cleanliness
Safety is an important factor here that cannot be overlooked. Dyes can be very messy if not processed with proper attention. It might leave permanent stains on many materials. For that, you need to be conscious.
Although most dispersed dyes are non-toxic, the basic dyes carry a significant hazard as they are firm in making stains and considerably more toxic. Therefore, we recommend wearing gloves during dyeing plexiglass and cleaning the tools with warm soapy water.
You need to mix isopropyl alcohol or acetone in the warm water solution. This is a safety concern and you need to be careful about its concentration. Make sure proper ventilation is provided.
Careful of the Fire Hazards
Some Useful Tips
Recommended Liquid Dye Bath Compositions
| Dye Solution | Water | Temperature |
|---|---|---|
| 1 part liquid RIT Dyemore | 3 part water | 200 Degrees Fahrenheit + |
| 1 part liquid RIT Dyemore | 3 part water | 185 Degrees Fahrenheit + |
Conclusion
Now that you know the ways to dye acrylic, you can go for it. Remember that lack of attention will make it messy and might leave permanent stains on materials. Ensure you are carrying out the activity outdoors with proper safety and wear rubber gloves.
Precaution should be ensured and if things go out of control, turn off the heat source immediately or cover the pot with a fire lid. Also, beware of acetone and isopropyl alcohol as they are extremely flammable.
About UVACRYLIC
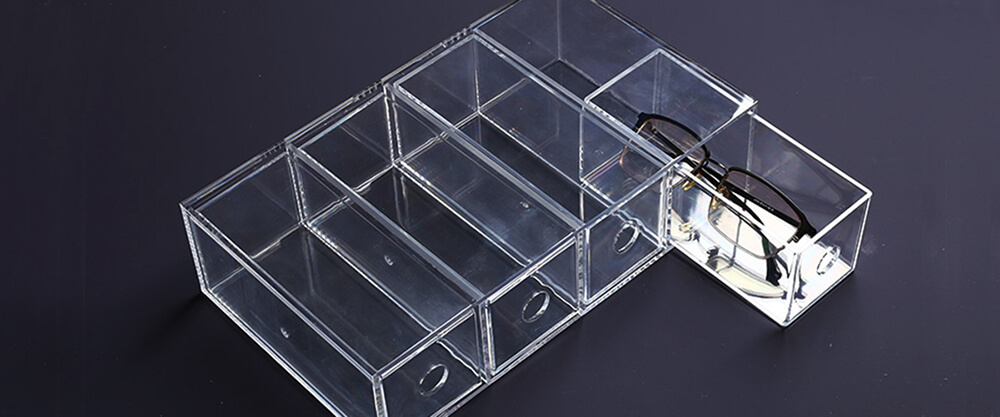
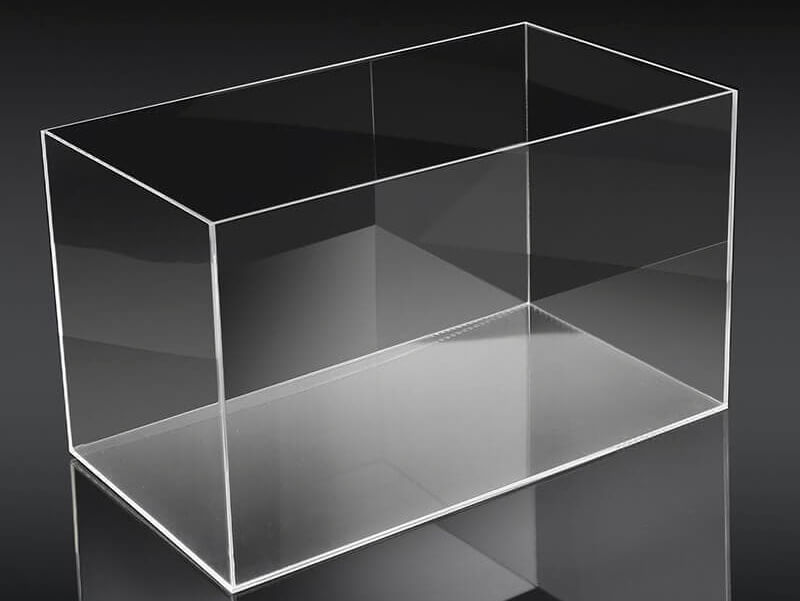
UVACRYLIC is a 100% subsidiary of UVPLASTIC, which provides plexiglass sheets in all forms, meantime, provides machining acrylic services and OEM of the custom acrylic box, storage box, etc.
Need A Trustworthy Supplier Of Acrylic Product
Click on the button, you will find the Trustworthy Supplier Of Acrylic-based product and machining services.