How To Smooth and Polish Acrylic Edges?
Best Guideline in 2025
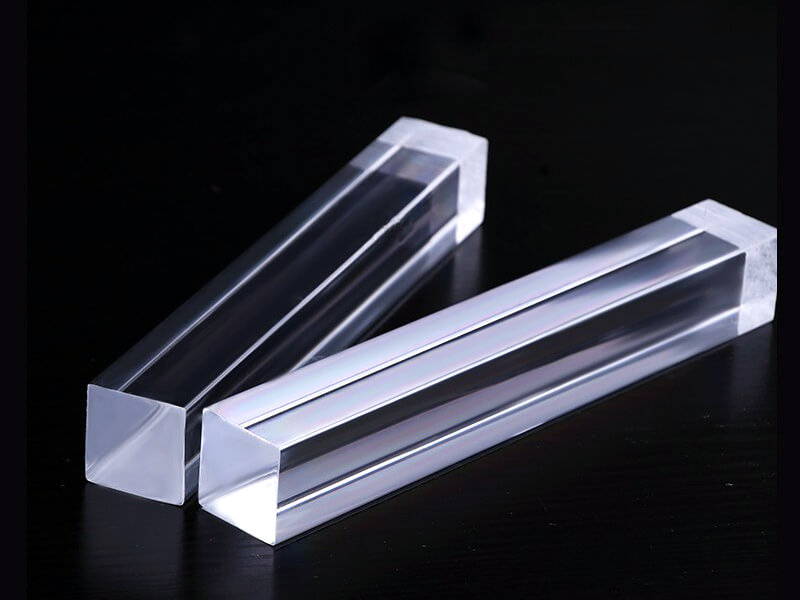
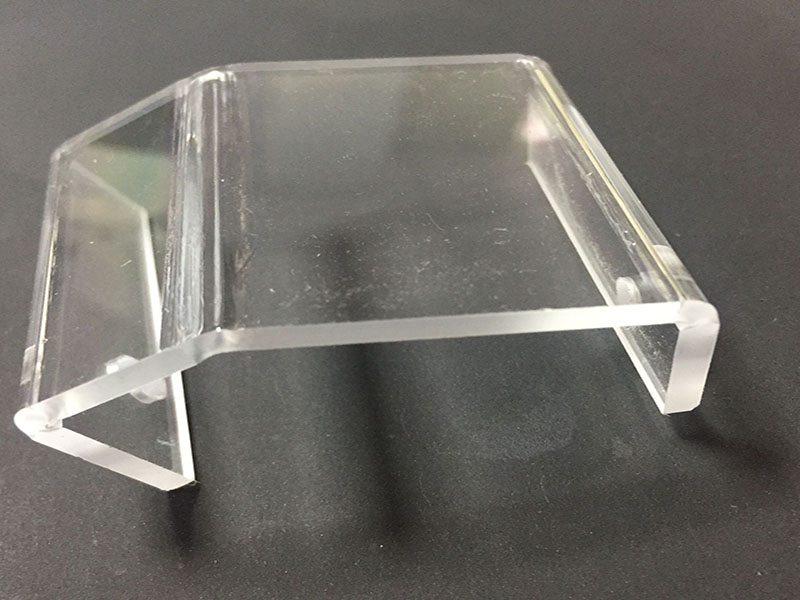
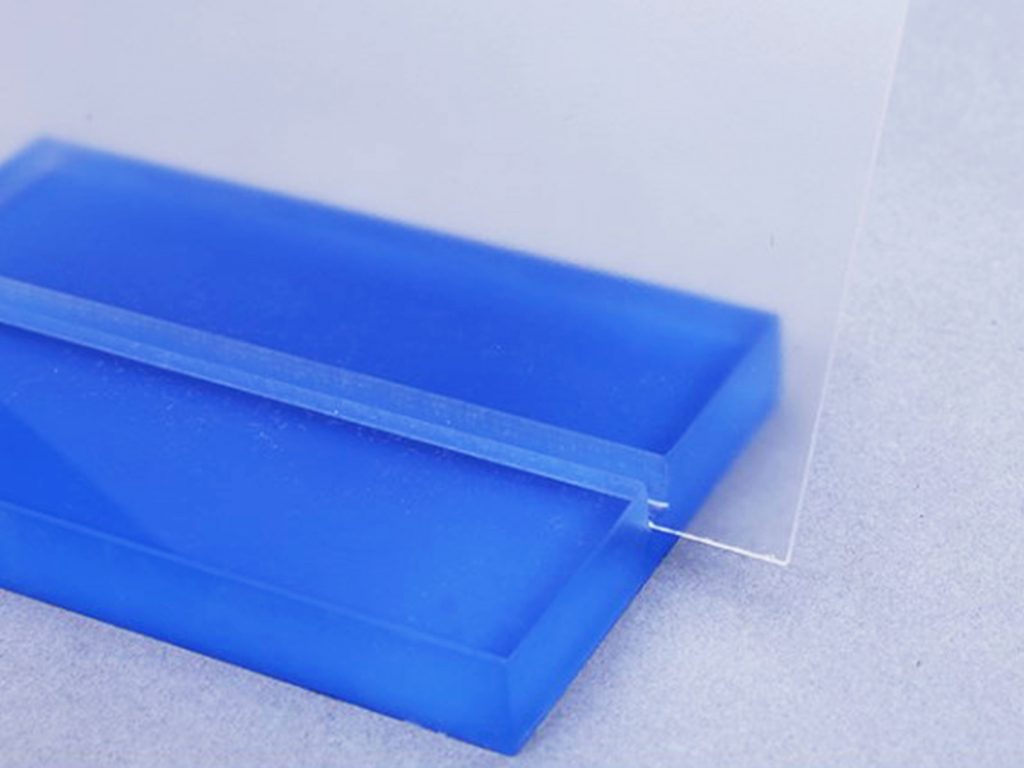
In our other blog, we mentioned how to cut acrylic board, and no matter how carefully you cut, its edges are bound not perfect. See, are custom acrylic beautiful with terrible edges so this need we are careful sanding and polishing, which It will make your acrylic look beautiful as new.
If you have any questions about the cutting step, you can also click on this blog post for a detailed reading. We have introduced many good cutting methods.
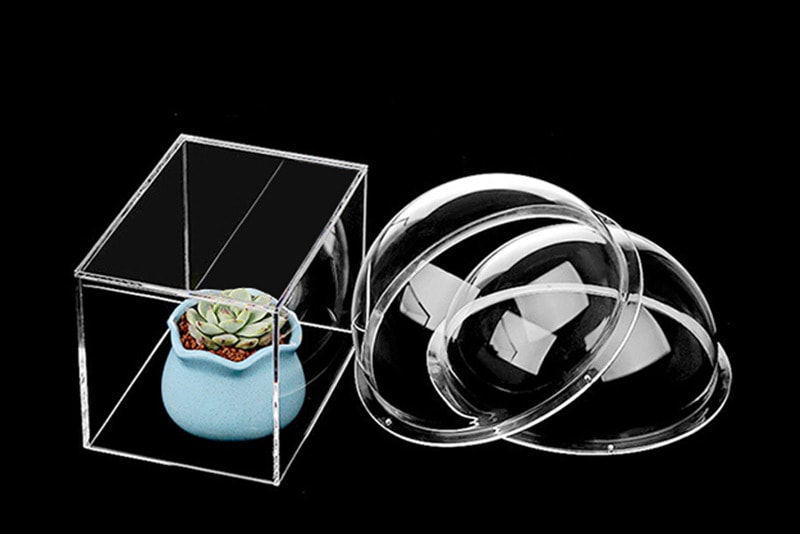
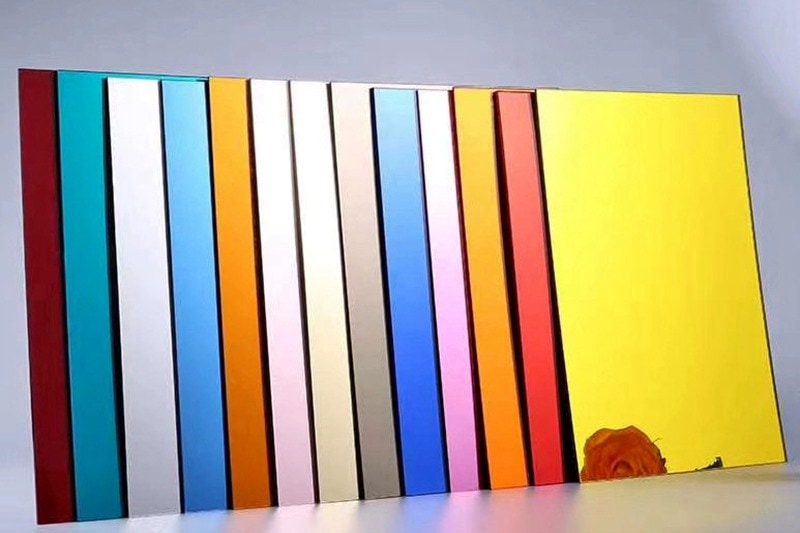
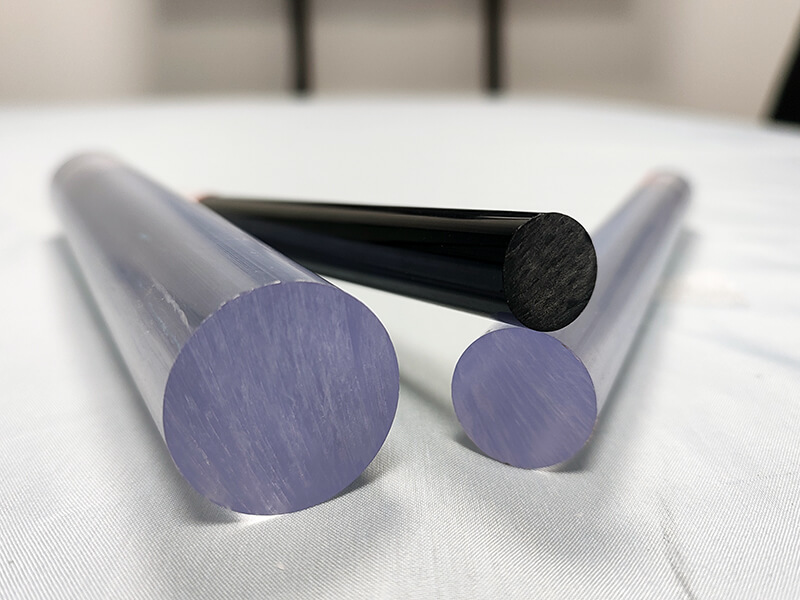
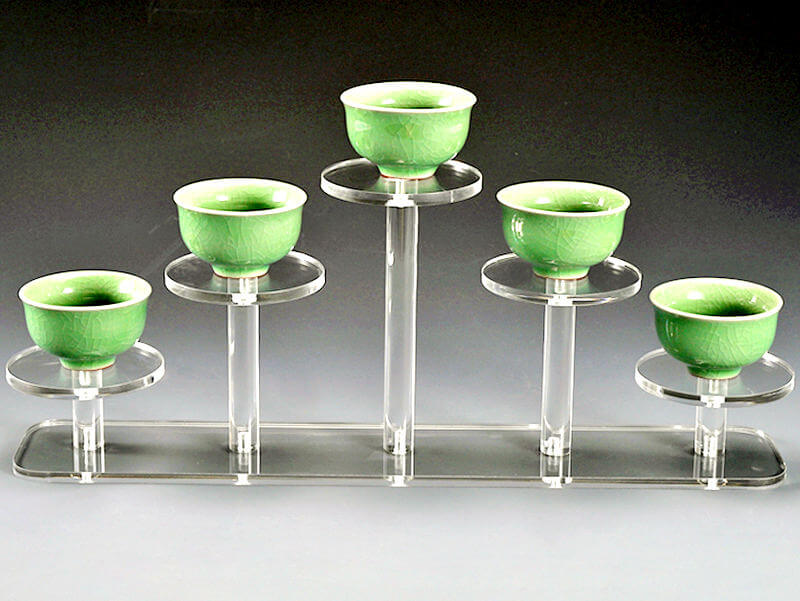
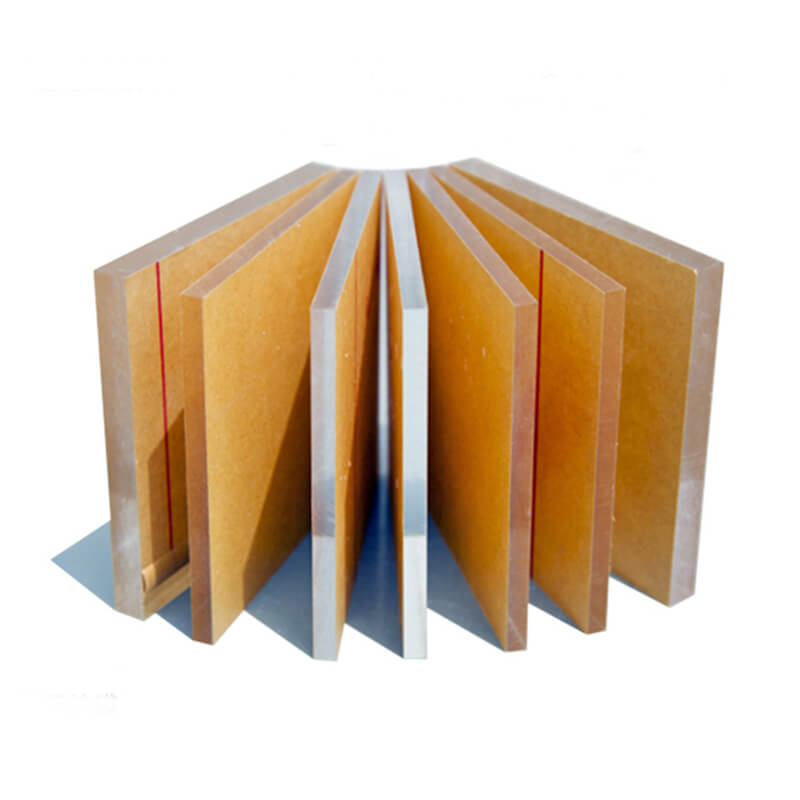
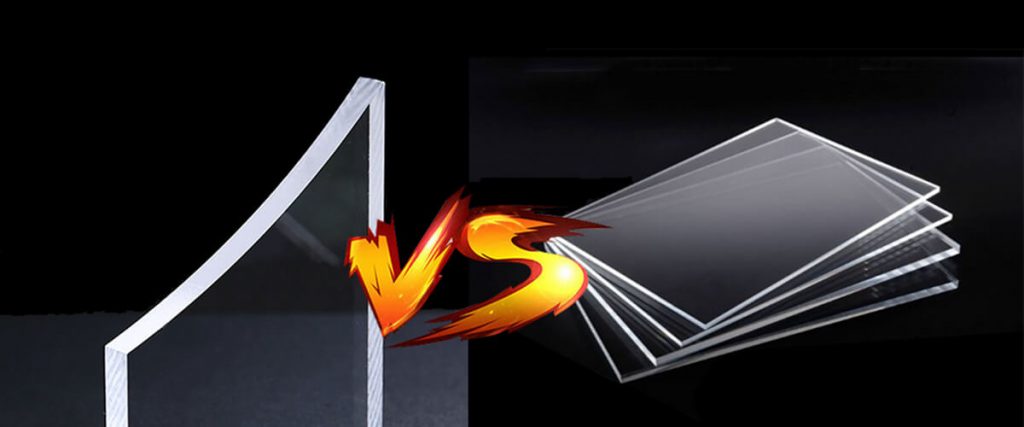
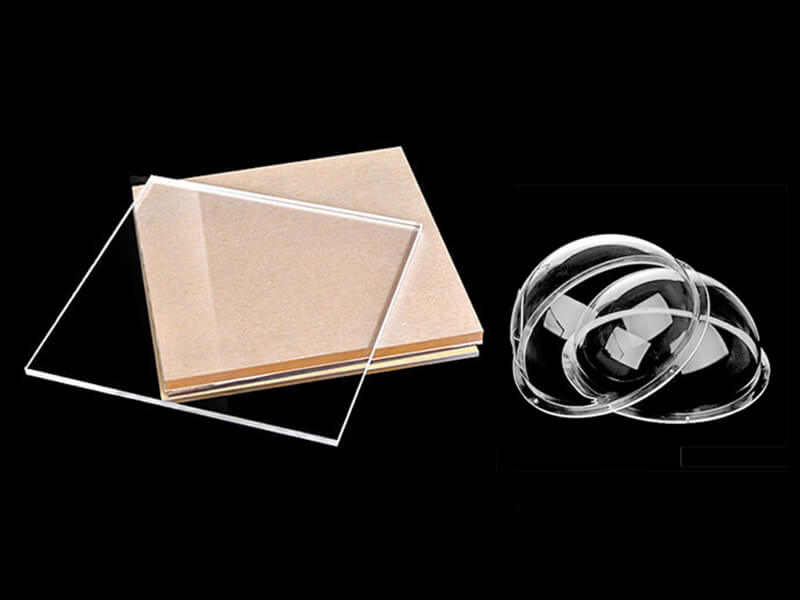
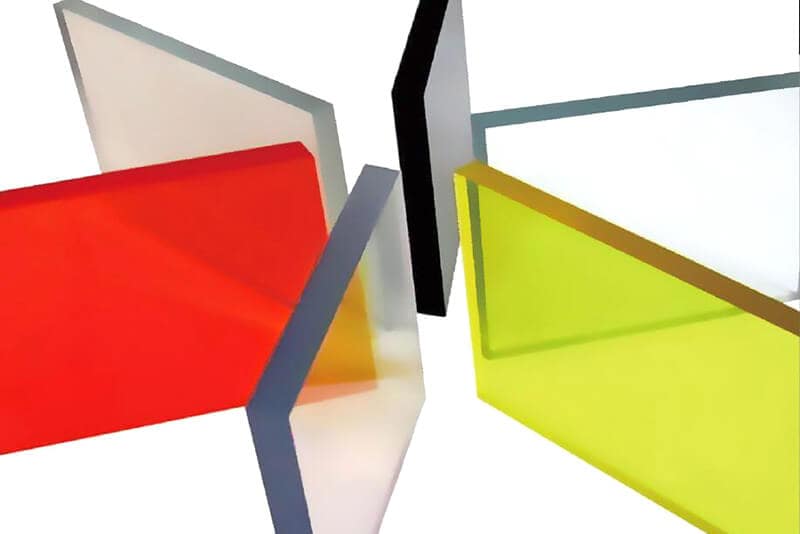
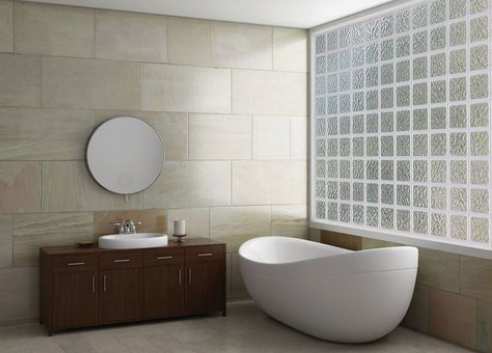
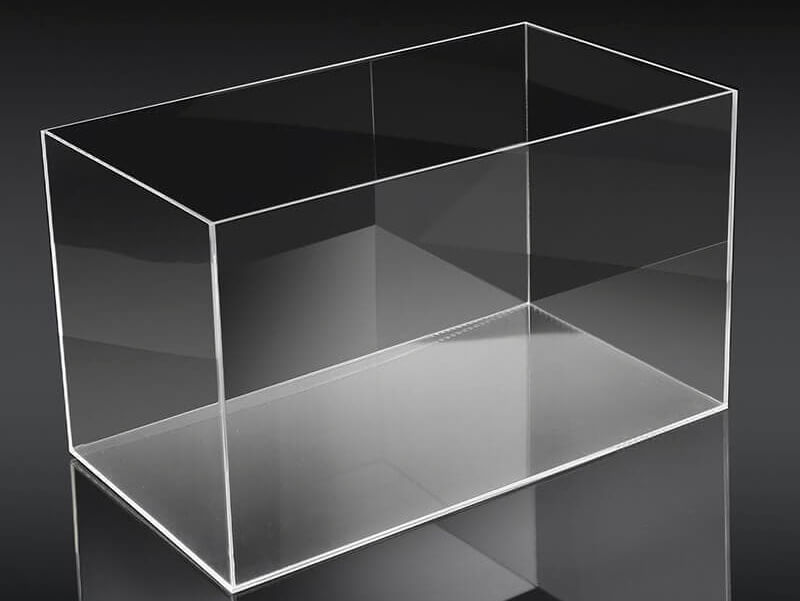
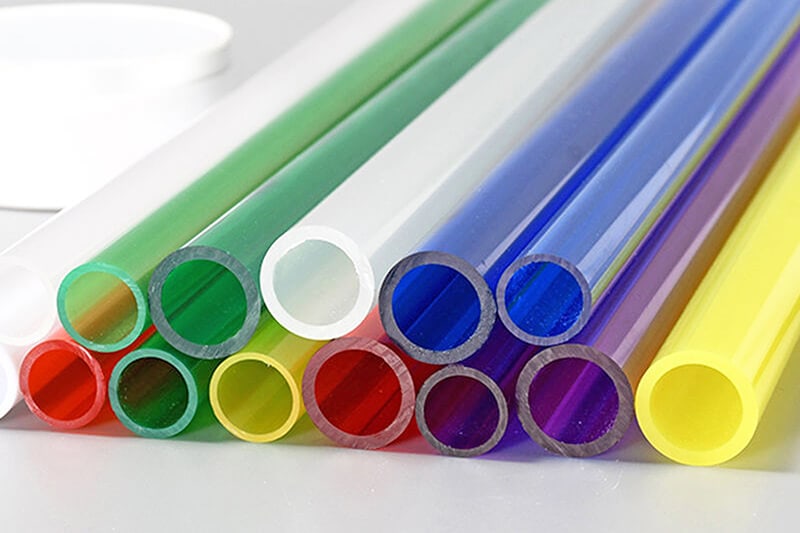
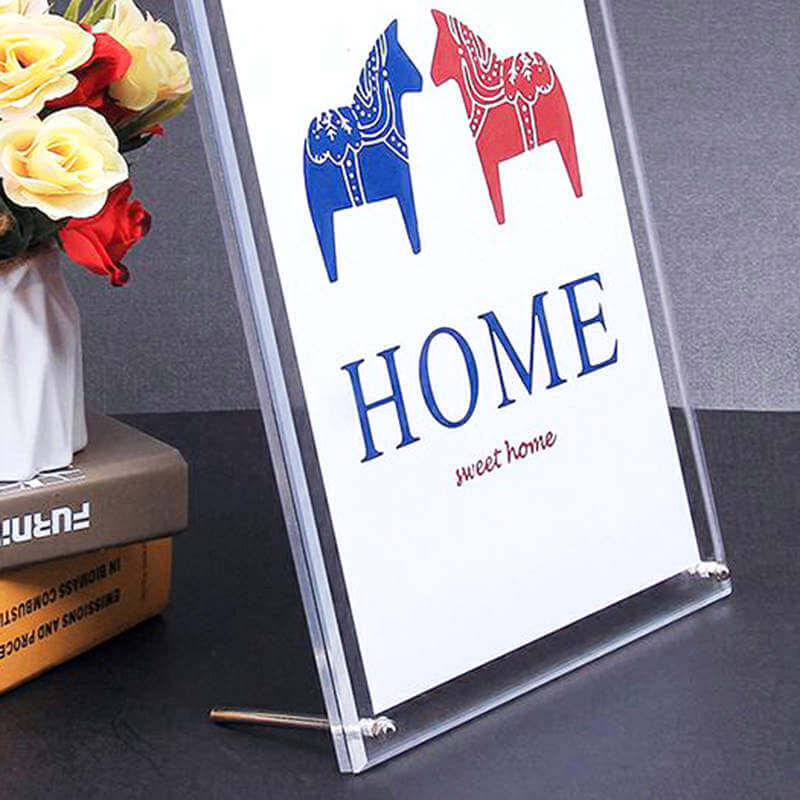
Acrylic itself is a very versatile material. Due to its transparency, safety, processability, and other reasons, people will always consider it. I believe everyone is well aware of this. Then sometimes you may be the purpose is to cut it. If the cutwork is not destined to be thrown away, of course, we still hope that it can have a certain sense of beauty.
The obvious fact is that cutting is bound to damage acrylic. The energy and patience you spend cutting acrylic, as well as the tools you use when cutting, all of which will cause your acrylic edges to become pitted so that you need more delicate sanding, so before sanding and polishing, please keep in mind that the more perfect your cut, the simpler your sanding.
Before we begin, we should now point out that once the edges of the acrylic plate are polished, they cannot be bonded. Just to emphasize this point, if you try to glue the polished edges together, the plastic will crack and the aesthetics of acrylic will be irreversibly damaged. If the edges have been sanded and want to stick, try rubbing them with sandpaper as this may stop it.
So, how about grinding and polishing? Let’s start now.
Polish Acrylic Edges With Sandpaper
First step,Cut out a piece of 180-grit sandpaper. You’d better prepare a sandpaper block to connect the sandpaper to the sandpaper block perfectly. Using the sandpaper block will save you a lot of effort in sanding.
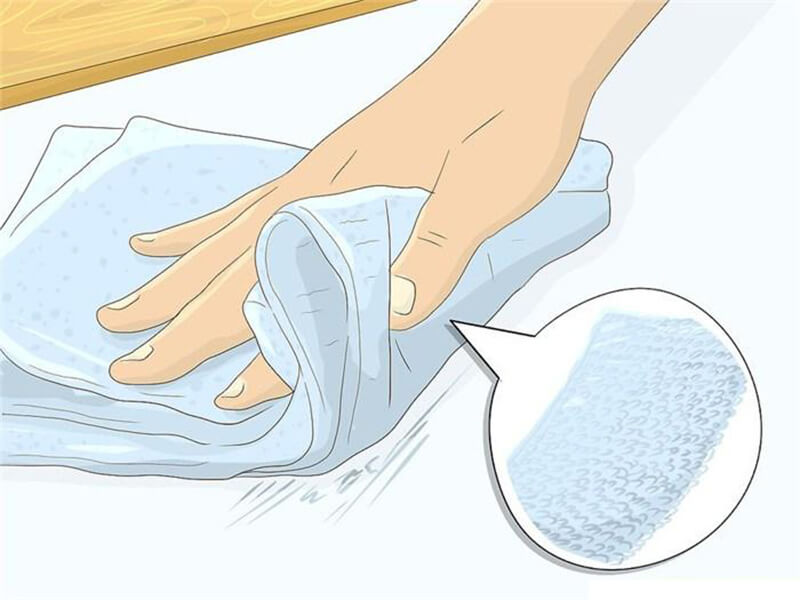
The second step is to spray the edges of the acrylic with a spray bottle. Use lukewarm water and spray evenly, making sure to wet every part of the acrylic piece. Make sure to re-spray the acrylic as you switch sandpapers.
- Wet-sanding is what allows you to polish the acrylic and make it look shiny and new. If you forget to use water, you could damage the acrylic and make it unusable.
The third step is to smooth the edges of the acrylic with 180-grit sandpaper. Vigorously rub the sandpaper into the acrylic to straighten out the edges and smooth the material. This sets the table for the higher-grit sandpapers to polish up the acrylic and give it that shine you’re looking for.
The fourth step is to replace it with 320-360 coarse sandpaper to obtain a polishing effect. When acrylic starts to have a greater gloss, you will know that 320-360 grit sandpaper has done the job. If you continue to sand without seeing the acrylic resin become brighter, it is time to use higher-grain sandpaper. If you are too tired, remember to give yourself a break.
In the last step, sand with 600 grit sandpaper to make the acrylic durable and beautiful. The higher the particle size of the sandpaper, the finer it is. So at this step, you will find that your acrylic gloss becomes better. Of course, as it is, polishing is a very hard process. If you can’t finish it in one go, remember to take a break.
Please remember:
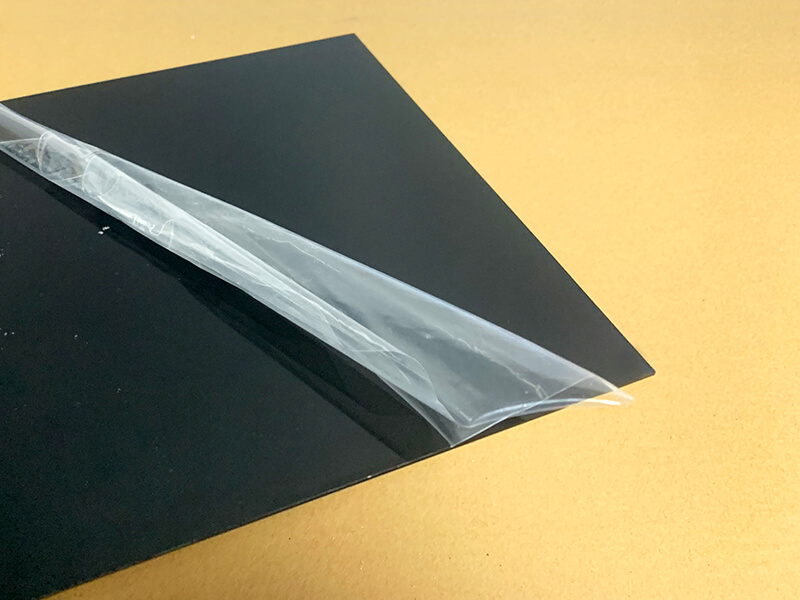
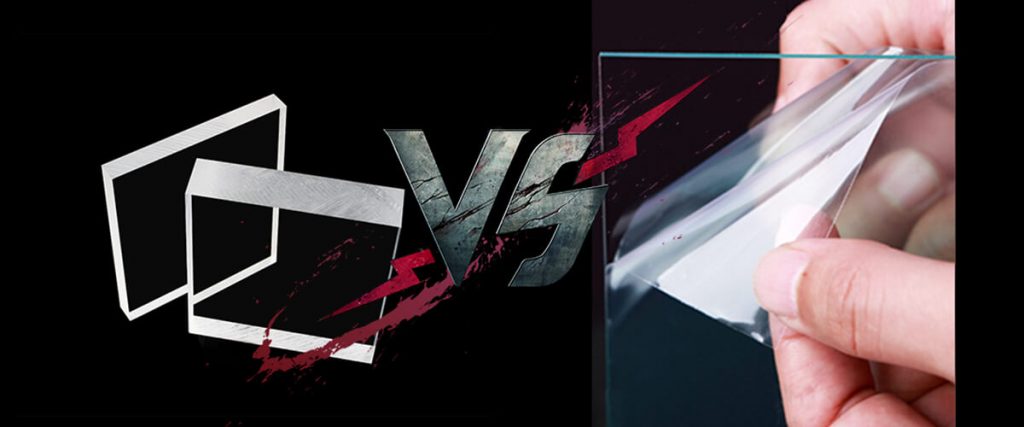
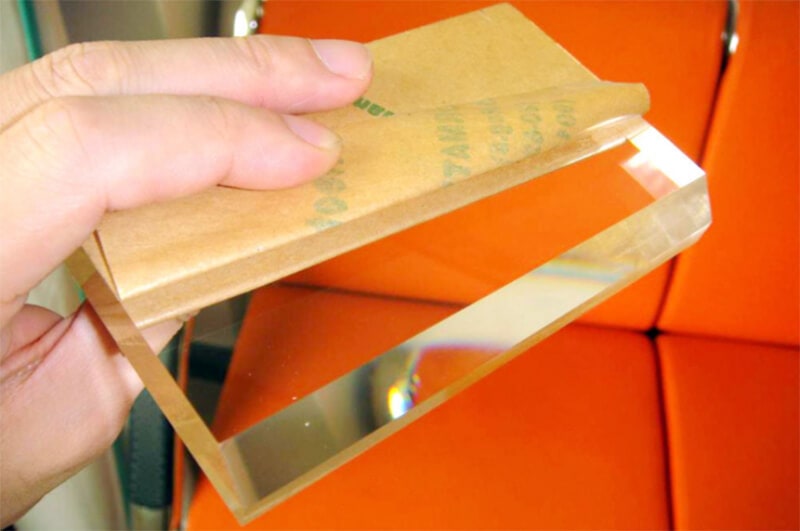
- Keep the protective film as long as you can
- Only use saws with closely spread teeth
- Always wet-sand the edges
- Do not wet-sand edges with electric sanders
- Use waterproof sandpaper
- Start off coarse, and work your way finer
- Take care when choosing cleaning & polishing solutions
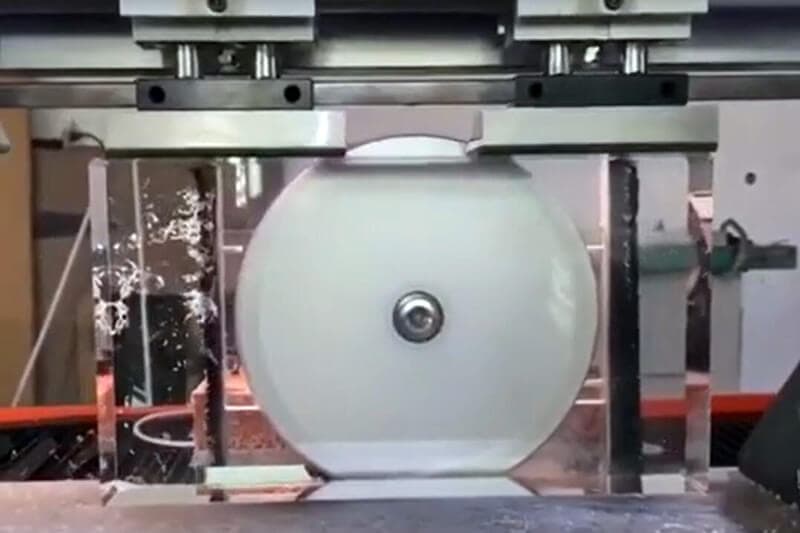
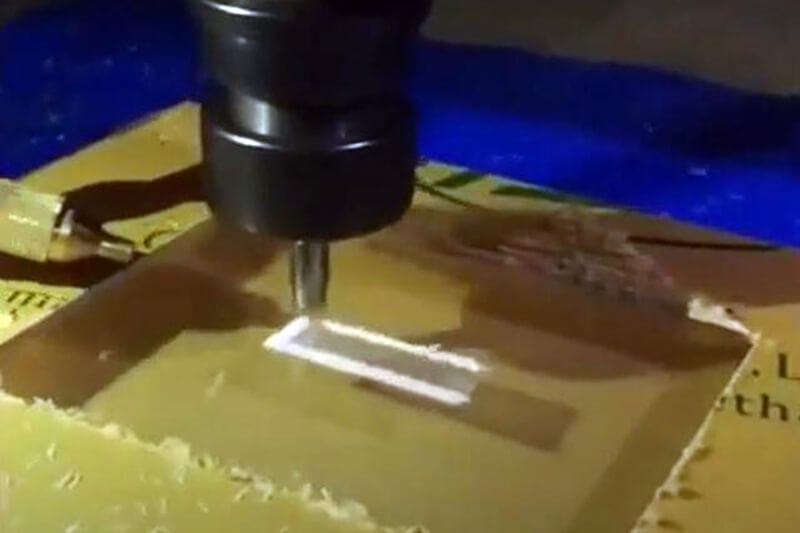
Polishing Acrylic Edges With Flame
The second method is to use professional equipment, and you must pay attention to safety during use. The detailed steps are as follows:
Video Of Polishing Acrylic
Conclusion
In short, polishing is a very patient process, but now that you decide to do it, I believe you can do it well. Nowadays, acrylic is getting deeper and deeper into our lives. Whether it is application or DIY, it is a very good choice. If you want to know more about acrylic, please pay attention to us.
UVACRYLIC is a leading manufacturer of acrylic sheet, and machining acrylic service providers in China. If you have any questions, we are always welcome to consult, and we are happy to answer you.
Need A Trustworthy Supplier Of Acrylic Product
Click on the button, you will find the Trustworthy Supplier Of Acrylic-based product and machining services.